Kombucha – Why & How?

Kombucha – recipe below

“I’m sorry, did you say it’s made from some kind of magic mushroom which you want me to ingest and supposedly it’s going to rid me of all my pain and woes …. is this legal?”

Recently I became the proud mum of a baby scoby (Symbiotic Culture of Bacteria and Yeast), the fungus that is required for the production of kombucha. Mmm delish..!

What is kombucha and why should you care?

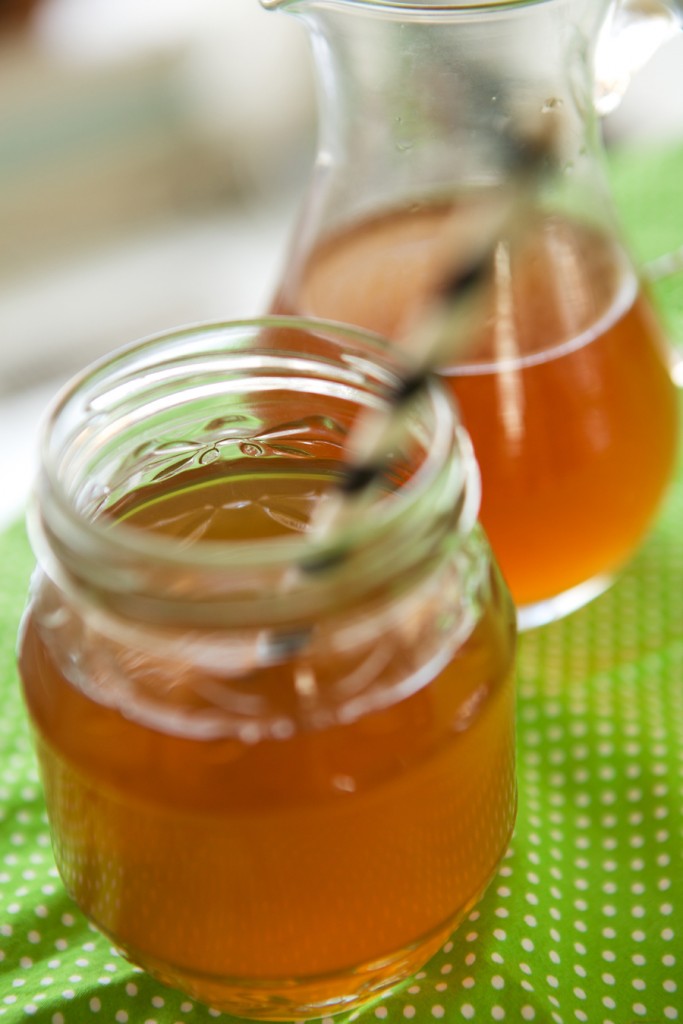
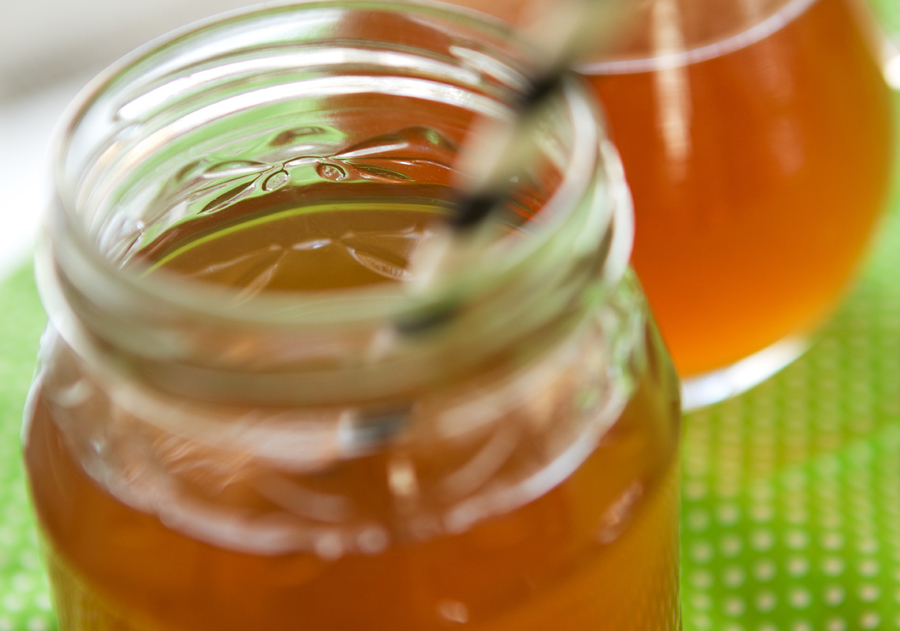
Kombucha is a fermented drink made from sweetened black tea and the above-mentioned scoby. You can buy it for a pretty penny at health food stores but it’s super easy to make at home once you have obtained a scoby baby (from a farmers market or your best hippy friend!) and you will save a lot of money.

Taste:

Depending on how long you allow your brew to ferment it can taste like anything from delicious apple cider to a very sour fizzy vinegar. Brewing for 7-10 days will leave you will a tasty, yet effective drink. However, either way, it is incredible to gut health and repair.

Health benefits:

The way kombucha works is that it restores balance or equilibrium to the body so that it may heal itself. This means that the effects will differ from person to person. To some the effects will be significant, while others may just enjoy the taste as a healthy soft-drink alternative.

Every batch of homebrewed kombucha will contain a different number of enzymes, probiotics and certain amino acids and vitamins. However, each batch helps to benefit digestive functioning, aid liver detoxification and improve overall PH of the body. There in lies the magic of kombucha!

When all these areas are working efficiently the body is able to come back into balance.

Typical improvements:

  • Increased immunity due to anti bacterial and antioxidant capacity.
  • Improved metabolism and digestive health, relieving symptoms of IBS and other gastrointestinal disorders, due to probiotics and beneficial enzymes.
  • Relieves candida and yeast overgrowth with the help of probiotics.
  • Increased energy / reduced fatigue due to antioxidant content.
  • Reduced headache due to natural analgesics.
  • Reduced joint and muscle pain, including arthritis, due to glucosamine content.
  • Improves detoxification and elimination, reducing pancreatic load and liver burden.
  • Anti-carcinogenic due to improved detoxification.
  • May also relieve fibromyalgia, depression and anxiety.
Kombucha

Recipe

You will need

  • 1 3 litre capacity glass jar or bowl with a wide opening. Sterilize with boiling water and allow to air dry.
  • a muslin cloth
  • Elastic or string to secure the cloth over the jar

Ingredients

  • 8 cups water
  • 1 cup white or cane sugar is best. Don’t freak out you little health nerd you! See below for why this is essential*
  • 4 black teabags
  • 1 cup of kombucha starter
  • 1 scoby (buy from a farmers market or get off an awesome hippy friend!)

Note: This is the basic recipe. As you become more comfortable with it you can start experimenting with different flavours. Try adding 1-2 teabags of your favourite herbal tea or a nob of grated fresh ginger.


Preparation

1. Bring the water to a boil in a large pot and stir in the cup of sugar to dissolve.

2. Once boiled, take it off the heat and add the tea bags. Leave it to brew for 15-20 minutes.

3. Remove the teabags and allow the brew to cool completely. This is very important as any heat may kill your poor scoby. If you have the time you may leave it to cool slowly, otherwise cool it rapidly over an ice bath in the sink.

4. Once cool add tea mixture to the sterilized jar. Pour in the starter kombucha.

5. With clean hands or tongs that have been sterilized with boiling water, carefully add your scoby. It may float, sink or be in between.

6. Cover with muslin and secure with string. Store in a dark place at room temperature. Leave for 7-10 days until your scoby grows another baby scoby on the surface.

Depending on the climate this process can vary in length. In temperamental Melbourne it takes about 10 days for a new scoby to form. Then it is ready for bottling! The longer you leave it the less sweet it will be and less sugar will remain.

Storage:

7. Pour into sterilized bottles and jars. Store the bottles in a cupboard rather than the fridge to maintain optimum fizz. This will also allow the fermentation process to continue. If you are not drinking it often just open the bottles and release the gas every few days so they don’t explode! If you prefer to drink it cold simply place a bottle in the fridge for a few hours or the night before you want to have it.

Passing on the kombucha love:

8. Both the new and old scoby can be used to make another batch. Just combine the scoby with 1 cup of kombucha in a sterilized jar and either pass on to a friend or store until you are ready to make another batch.

* The sugar is to feed you scoby and help your kombucha become big and strong so that you can reap the rewards.  It is a necessary part of the fermentation process and will not work without it. Don’t fret, when fermentation is complete you will be left with approximately 1-2g sugar per cup of kombucha. If I put that in perspective for you 1 cup of fresh carrot juice has about 13g and fruit juices and soft drink and much higher still, and they don’t contain the good stuff! The longer you ferment the less sugar will remain. However, the flavour will become more sour the longer you wait.

Enjoy your magic mushrooms! Peace out man.

Photography by Yasemin Erdodu
Vitalizing Green Smoothie

Vitalizing Green Smoothie

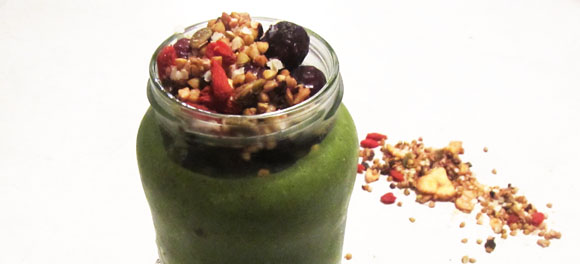
With the addition of barley grass or spirulina powder this instant breakfast will help alkalize the blood, boost omega 3, 6 and 9 and is incredibly rich in chlorophyll to detoxify and cleans your blood.

Serves 2

  • 1 ripe banana, roughly chopped – if the banana is ripe enough you may not need extra sweetener
  • 4 medjool dates – pitted and roughly chopped
  • 2 tsp organic raw honey or maple syrup for vegans – optional
  • 1 cup spinach leaves
  • 2 Tbls oats
  • 6-8 macadamia nuts or cashews – option to soak overnight first to help draw out the phytic acid
  • 1 Tbls chia seeds
  • 1 cup coconut water or coconut milk for a creamier texture
  • 1/2 tsp vanilla extract
  • 1/2 tsp cinnamon powder
  • 1/2 to 1 Tbls barley grass, spirulina or maca powder (these can taste quite strong so start with a teaspoon and build up as you get used to the flavour).
  • 1/2 cup crushed ice if you like it thick and refreshing, or just add a few blocks at the end
  • A handful fresh blueberries to top and sprinkle with raw granola (or whatever chrunchie bits you want to add)!


Preparation:

Place all ingredients in a blender and blitz away! If it is too thick for your liking add extra water or coconut water. Top with blueberries and raw granola.

Easy as Hummus

Easy as Hummus

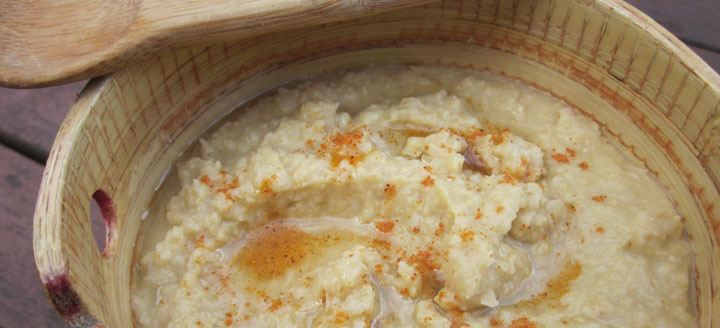
This is a recipe I learned while at the Gawler Foundation. All meals were vegan and nutrient dense, aimed at activating the bodies natural healing mechanisms. I had to experiment a lot to find recipes that would keep me satisfied both in terms of hunger and flavour. This low GI snack provides slow-burning energy, helping to monitor appetite and balance your blood sugar so you don’t crash and burn by 3pm!

Note to tummy: Soaking info below*

Legumes can be extremely hard to digest due to naturally occurring nutritional inhibitors and toxic substances found in the beans (and nuts). These are Mr. Beans personal defense mechanism but with just a bit of effort we can eliminate these toxins so the beans are left with all the good stuff!


You will need a food processor for this recipe.

  • 400g Soaked chickpeas. If you are reading this thinking “Damn, wish you told me that yesterday!” Don’t panic, you can use tinned. Just rinse them well and use organic if you can.
  • 1 Garlic clove, diced
  • 1-2 Tbls Cold-pressed olive oil
  • 1 Tbls Tahini
  • Juice of 1 small lemon
  • 1 tsp Smoked Paprika
  • 1/2 tsp Cumin
  • 1 tsp Salt or to taste (Gawler option: omit or use yeast flakes)
  • A little water


Preparation:

1. Place chickpeas and garlic in food processor and whiz briefly to combine.

2. Add olive oil, lemon juice (start with 1/2 and add more to taste), spices and salt. Process to reach desired consistency (I like mine a little chunky). If it seems too dry add a little water at a time until it’s how you like. Season to taste.

3. To serve drizzle with extra olive oil and sprinkle with a pinch of paprika. Enjoy with fresh vegies, on crackers or…. For something a little fancy heat in the oven (pre-heated at 180 C) for 10 minutes until warm. Serve strait away with crusty bread or as a mash under roast chicken breast! Yummm-ville!

*Soak 2 cups of dried beans overnight (~12 hours) in a large pot of water and a pinch of salt. If you can get your hands on some seaweed (kombu is great) this will further aid digestion. However, if you can’t get seaweed just use a splosh of vinegar instead. Soak until fully hydrated. Sometimes with larger beans like chickpeas you might need to go a little longer (up to 48 hours) just use your intuition…or alternatively you’ll get hungry enough to just go for it and dive in!

Paleo Fennel Seed Bread

Paleo Fennel Seed Bread

I love having a fall back paleo bread for those lazy Sunday’s when all I want is a big plate of poachies on toast. Let’s face it, an eggy breakie is just not the same without something to mop up the yolk!

The fennel in this bread gives it a warming component that is great for digestion.


  • 1 cup almond meal
  • ¾ cup flax meal (also known as linseed meal)
  • pinch of salt
  • ½ tsp baking soda
  • ½ tsp baking powder
  • 3 free range eggs, at room temperature
  • 2 Tbls coconut oil, melted
  • ¼ cup water
  • 1 tsp honey or maple syrup
  • 1-2 Tbls whole fennel seeds


Preparation

1. Preheat over at 180C (350 F). Grease a 23 x 13 cm loaf tin or French stick tin as seen below. Line with baking paper.

2. In a large bowl combine almond meal, flax meal, salt, baking powder, baking soda and fennel seeds.

3. Make a well in the center and add eggs, water and honey. Add the melted coconut oil last as it will turn solid on contact with the cool mix. Whisk together immediately to allow even distribution.

4. Pour into desired loaf tin.

– Regular 23 x 13 cm loaf tin: bake for 30-35 minutes – using loaf tin.

– French stick loaf tin: this batter will make 2 medium loaves or one longer loaf and bake for 25 minutes.

5. Cool on a wire rack before serving.

Serving suggestions: The fennel in this bread gives it a savoury flavour that makes it great with soup (try my carrot, ginger & coconut soup) or as a sandwich.


Rustic Greek Panzanella

Rustic Greek Panzanella

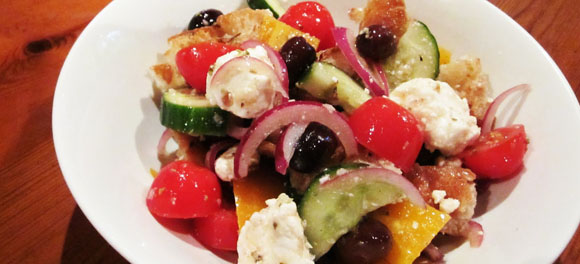
This is one of the sexiest salads I have ever had! The vibrancy of all the colours coming together makes even the fussiest of salad eaters’ salivate. Full of vitamins and mineral, this antioxidant rich salad will leave you bouncing off the walls with energy!

Serves 4

  • ¼ cup ghee or coconut oil
  • 3 cups roughly torn rustic bread (great for using up day-old bread)!
  • ½ Lebanese cucumber, halved lengthwise and sliced 1cm thick
  • 1 yellow capsicum, seeded and thickly diced
  •  125gpunnet cherry tomatoes, halved
  • 1/2 small red onion, thinly sliced in half rounds
  • 100g feta cheese (if you don’t do dairy this dish is just as satisfying without)
  • Approx. 15 olives, pitted
  • salt to taste

Dressing:

  • ¼ cup red wine vinegar
  • 2 cloves minced garlic
  • 1 tsp dried oregano
  • ½ tsp Dijon mustard
  • Salt and pepper
  • ½ cup cold-pressed olive oil


Preparation:

1. Heat ¼ cup ghee in a large saucepan. Add the bread, sprinkle with a pinch of salt and toss to coat. Cook over medium heat for several minutes, stirring occasionally, until browned and crisp. Set aside.

2. Place the vegetables in a large bowl and toss.

3. For the vinaigrette combine vinegar, garlic, oregano, mustard, salt and pepper in a jar and give it a good shake.  Add the olive oil and shake to combine.

4. Add the bread, feta and olives into the vegetable mix and pour over the vinaigrette, toss lightly. Set aside for 20 minutes for the flavours to soak into the bread. Season to taste and serve at room temperature.

Serving options: This is to-die as a side with lamb and some tzatziki or simply serve on its own as a main.